Turn a product photo into a short video: plan three separate shots
Build a three-shot product storyboard, use restrained image-to-video prompts, inspect changing product details, and assemble accepted clips in an external editor.
 Ofox
Ofox 
A short product video is easier to inspect when each clip has one job: introduce the whole item, show a visible detail, then end on a clear product view. Generate those shots separately and join accepted clips in your video editor.
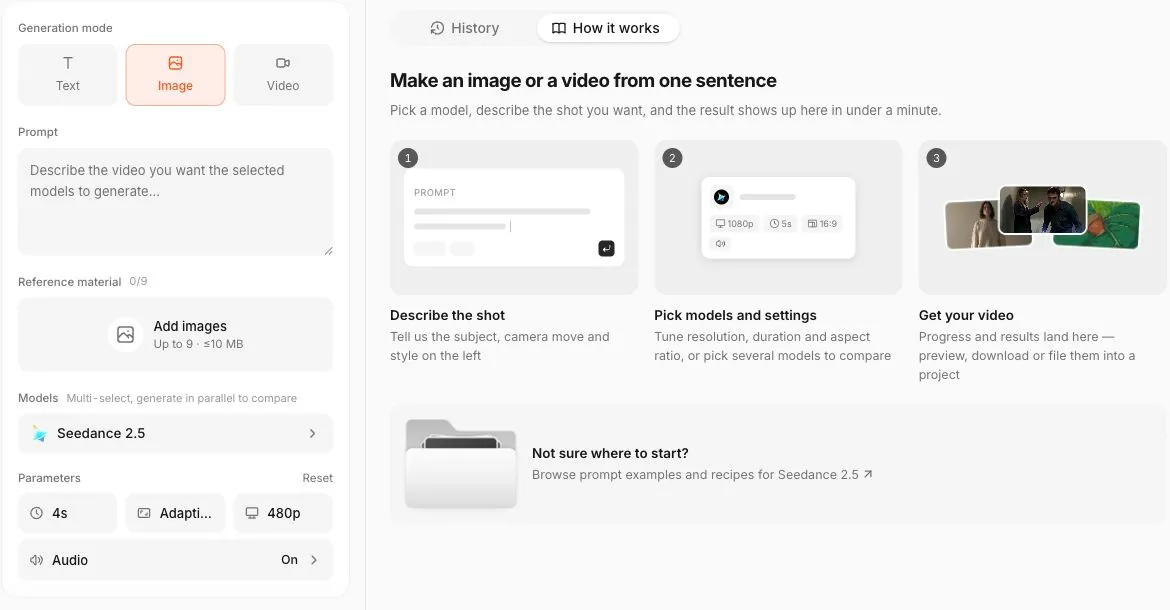
The Ofox video tool provides an image input mode and reference upload. The three-shot plan below is an editorial workflow, not a claim that Ofox creates a finished sequence in one click. The interface was checked on September 20, 2026; these prompts have not been validated with paid generation results.
Write the shot list before spending on generation
Use a photo you own or have permission to edit. Limit the storyboard to features and angles you can substantiate from real product material. Asking the model to invent the unseen back or inside of an item can create a misleading sales video.
| Shot | Purpose | Starting motion | Reject if |
|---|---|---|---|
| Introduction | Show the entire product | A small, slow push-in | Shape or scale changes |
| Detail | Show a visible surface or part | A slight lateral camera move | Label, part or reflection distorts |
| Ending | Leave a clear product view | Fixed frame or gentle pull-back | New text or props appear |
One photo does not guarantee consistency across separate generations. Test the first shot before requesting the others.
Set image input and review the parameters
In the video tool, choose Image and add the reference. Select one model, then review duration, aspect ratio, resolution and audio settings. Available combinations depend on the selected model and input mode.
Introduction prompt example:
Keep the entire product from the reference image inside the frame. Move the camera slowly forward by a small amount. Keep lighting steady and background movement minimal. Preserve the product’s shape and color. Do not add lettering, logos, props or accessories.
For the detail shot, use a crop or a separate source photo that clearly shows the chosen surface or part. Ask for a slight sideways move and keep that detail in frame. A different camera direction alone does not create a useful close-up. For the ending, return to the full-product photo and request a fixed composition. These are starting instructions, not guarantees of exact motion or product preservation.
Multiple uploaded references are not automatically ordered keyframes. Use only the input behavior verified for the selected model; do not assume upload order defines a sequence.
Inspect the whole clip
Play the full clip, paying particular attention to the beginning, middle and end. Check whether a handle disappears, a label changes, or an edge bends as the camera moves. Reject misleading clips even if their first frame looks correct.
Review cost at the actual duration and resolution you select. A low-resolution trial followed by a new high-resolution generation can incur two charges; it is not automatically a cheaper workflow. If a request stalls, check its state before submitting another one.
Assemble accepted shots in your editor
Download the clips, put them in storyboard order and trim unstable openings or endings. Add captions as editable text so you can correct spelling without another generation. If you do not want sound, inspect both the generation audio setting and the exported video’s audio track.
This is external editing, not a demonstrated Ofox timeline feature. Keep your original photo, prompts, accepted source clips and editing project. Before publishing, compare the finished sequence with the actual product and remove any unsupported feature or included-accessory implication.
Need a clean source still first? See product photo backgrounds. For a vertical layout, see crop, pad or regenerate. API users can consult the video API documentation; verify the chosen model’s own input and billing rules before automating.
Frequently Asked Questions
- Does the same photo guarantee consistent products across clips?
- No. Inspect each clip and the final sequence for changed shapes, labels and accessories.
- Does Ofox assemble this three-shot sequence?
- The workflow calls for separate clips, which you assemble in an external editor. A built-in Ofox timeline is not demonstrated here.